Creating & Managing Review Cycles
Last updated: October 24, 2024
Master the process of creating and managing review cycles in IMPACT, ensuring structured and effective performance evaluations for your team.
📽 Check out our video tutorial on creating review cycles in IMPACT
To create a Review Cycle, you need to have the HR access level (edit access levels in People menu item).
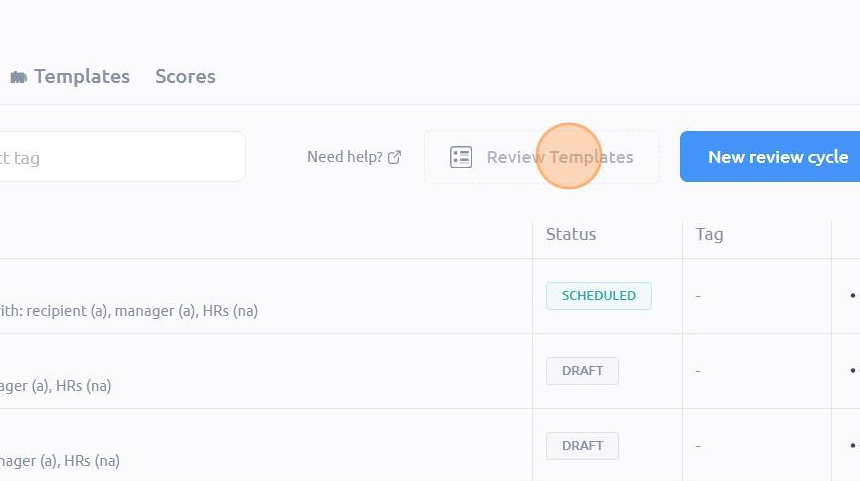
You can start a new review cycle by pressing the "New Review Cycle" from the Manage tab in the Reviews section of the platform. Or if you want to start directly with available templates, click on "Review Templates".
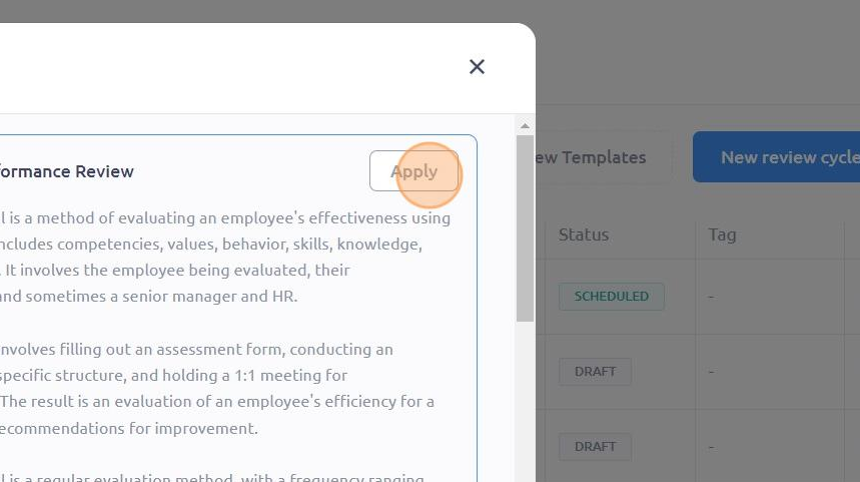
When you've found the one you want, click "Apply".
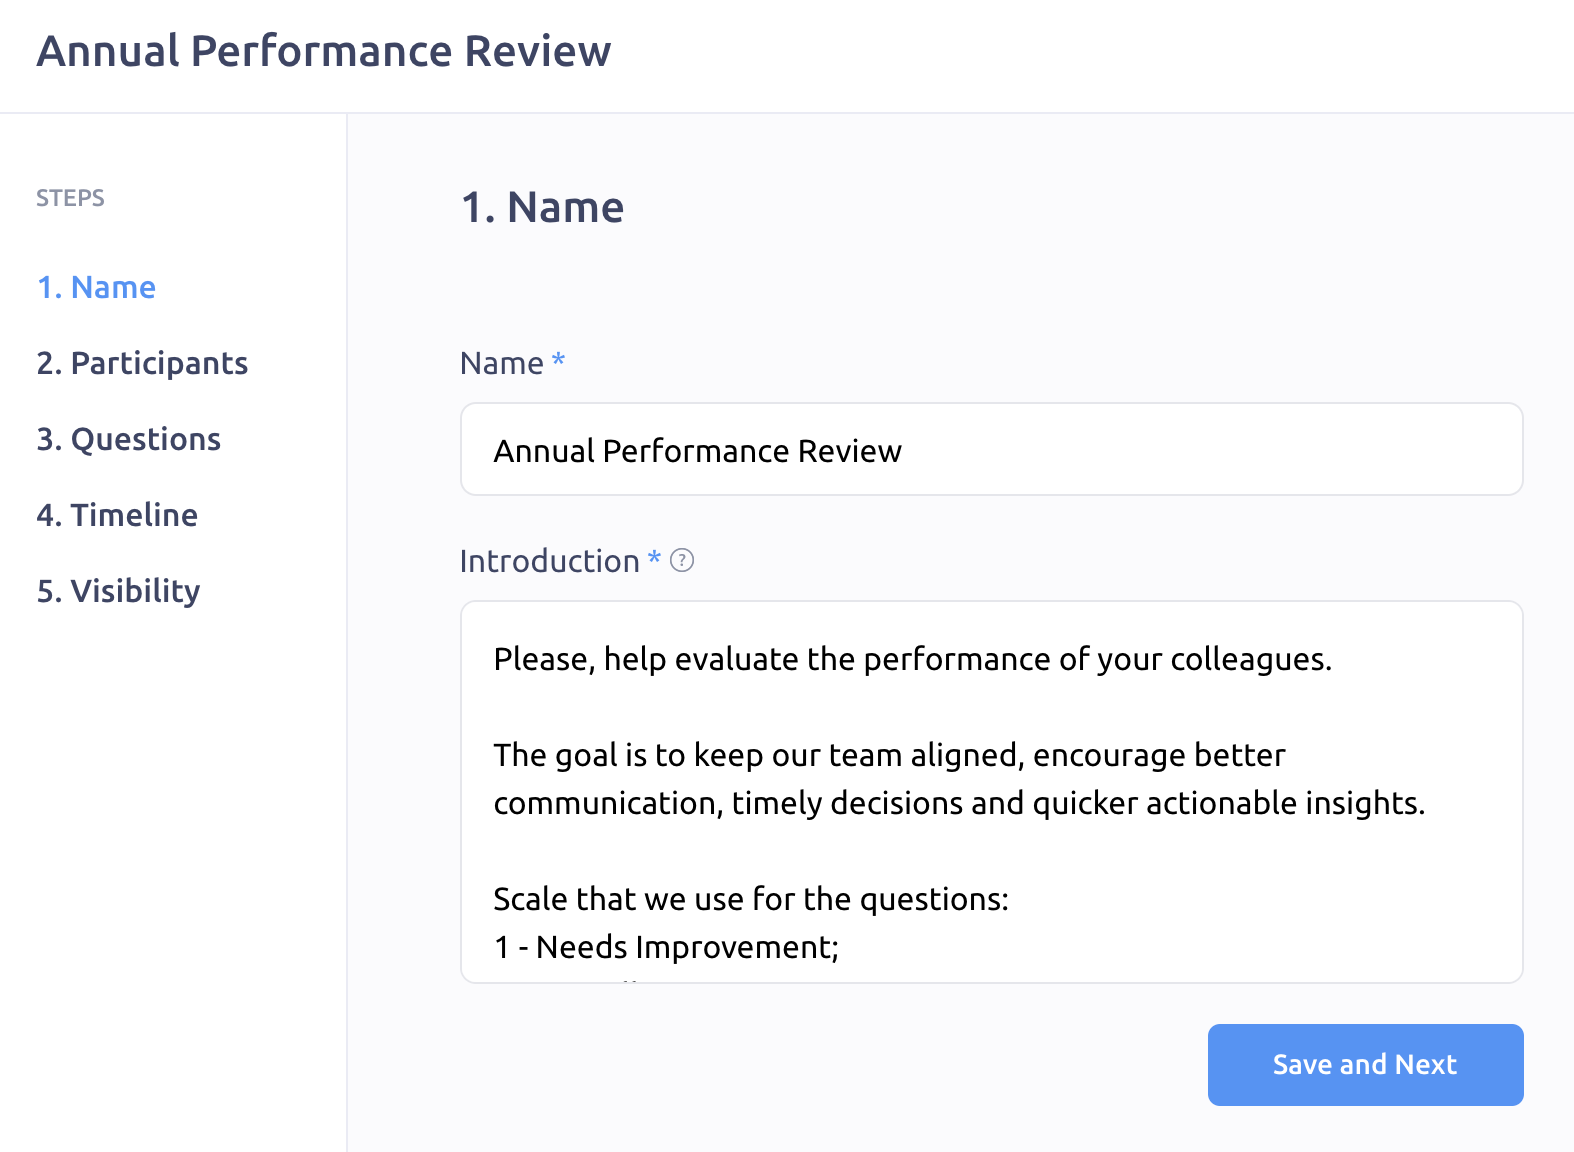
Adding Initial Review Cycle Info
Name - what the review will be called
Introduction - this is the text reviewers will see before writing the review
Tags - can help you organize different reviews (optional)
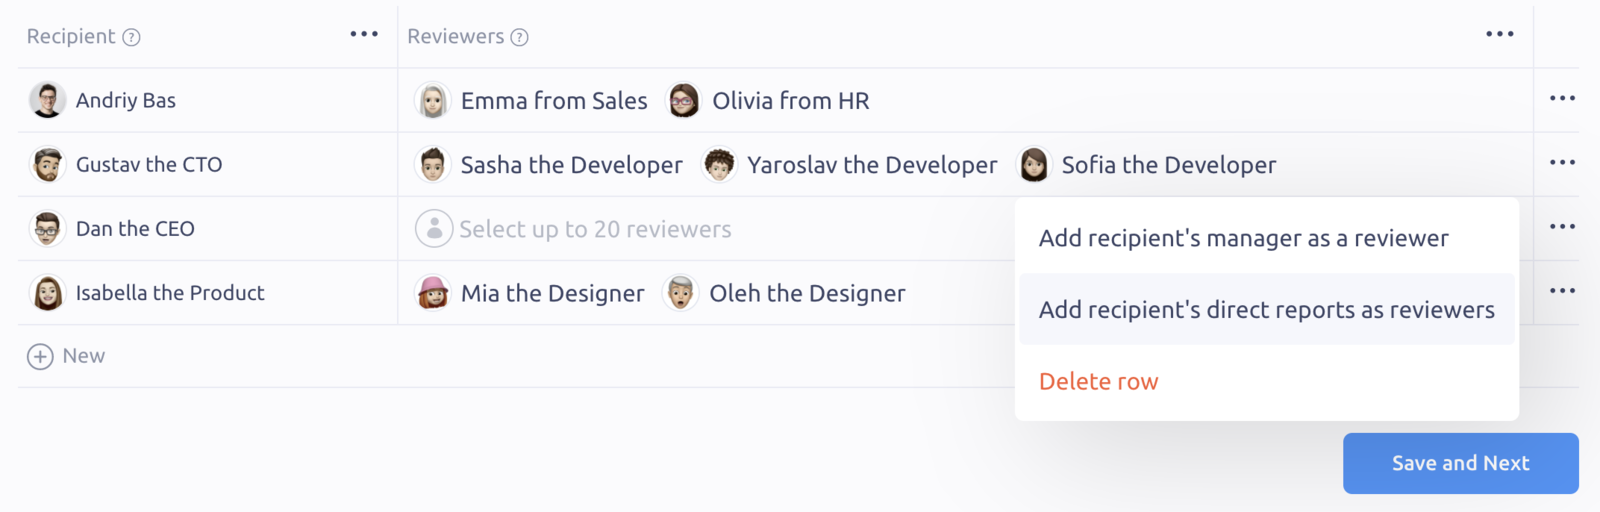
Setting Review Participants
Recipients - those who will be under review;
Reviewers - those who will be reviewing the recipients;
💡 Pro tip 1: select the checkbox "Include self-evaluation", and all recipients will be asked to write the review for themselves.
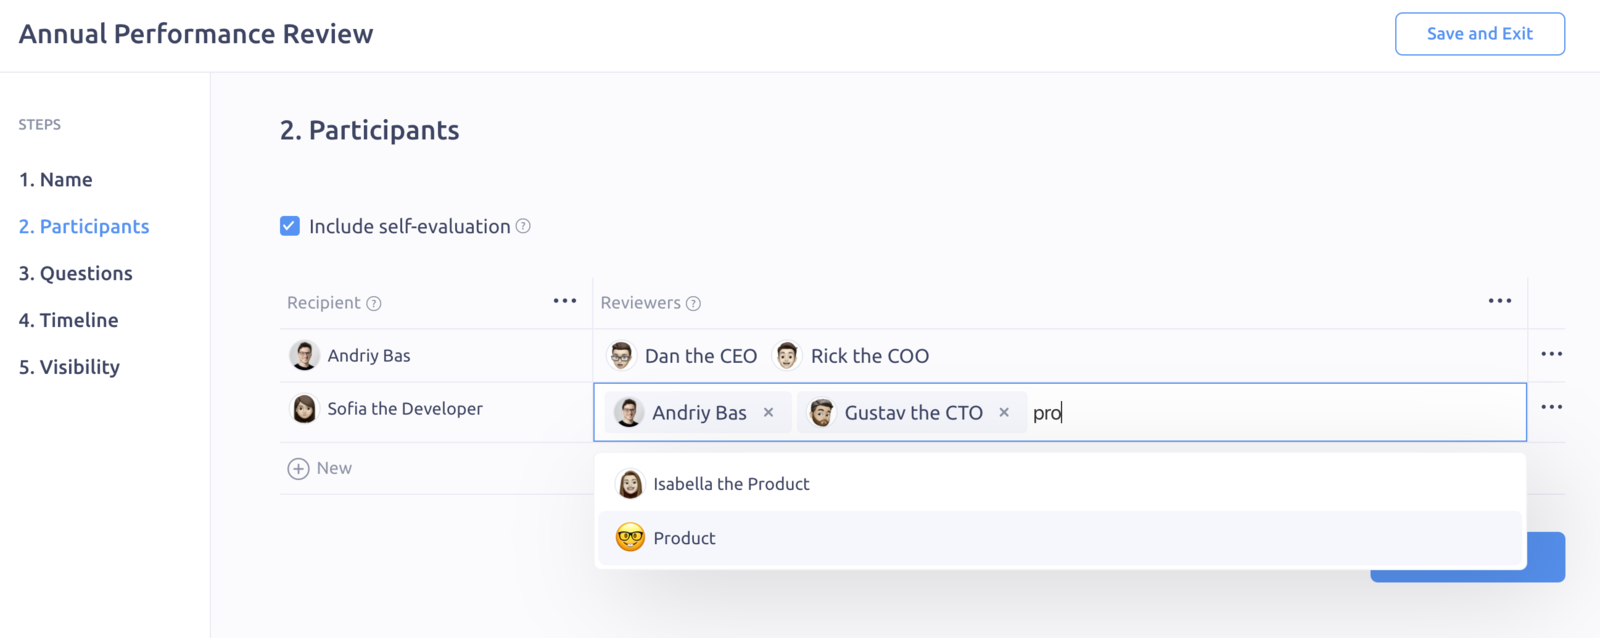
By checking the "Include self-evaluation" box, the recipient will also be able to write a review about themselves.
💡 Pro tip 2: you can pick an individual user or a whole team as reviewers. You can also press "3 dots" and use quick actions to build the table quickly:
If you click those three dots, you can add the recipient's manager as a reviewer (without looking for their direct manager in the list). Or if the recipient is a manager, you can add their direct reports as reviewers automatically.
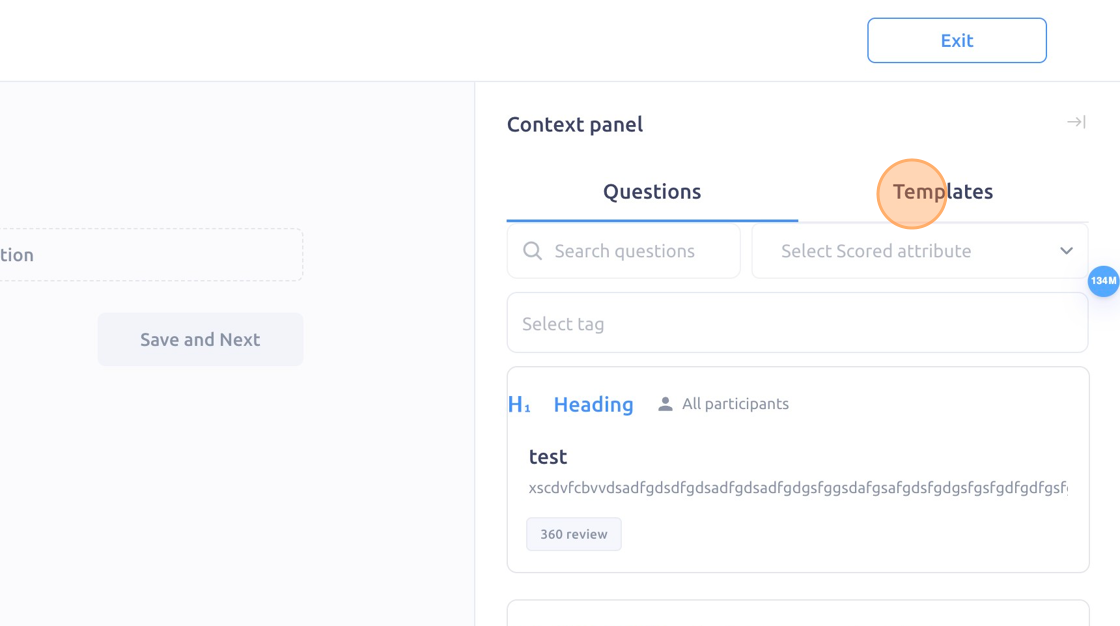
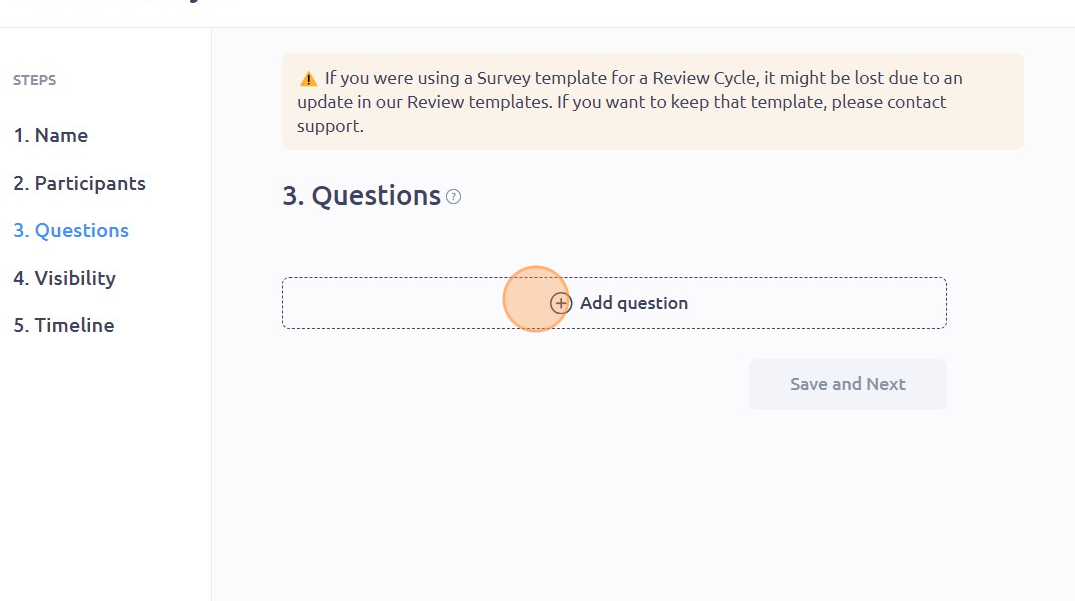
Selecting the Review Questions
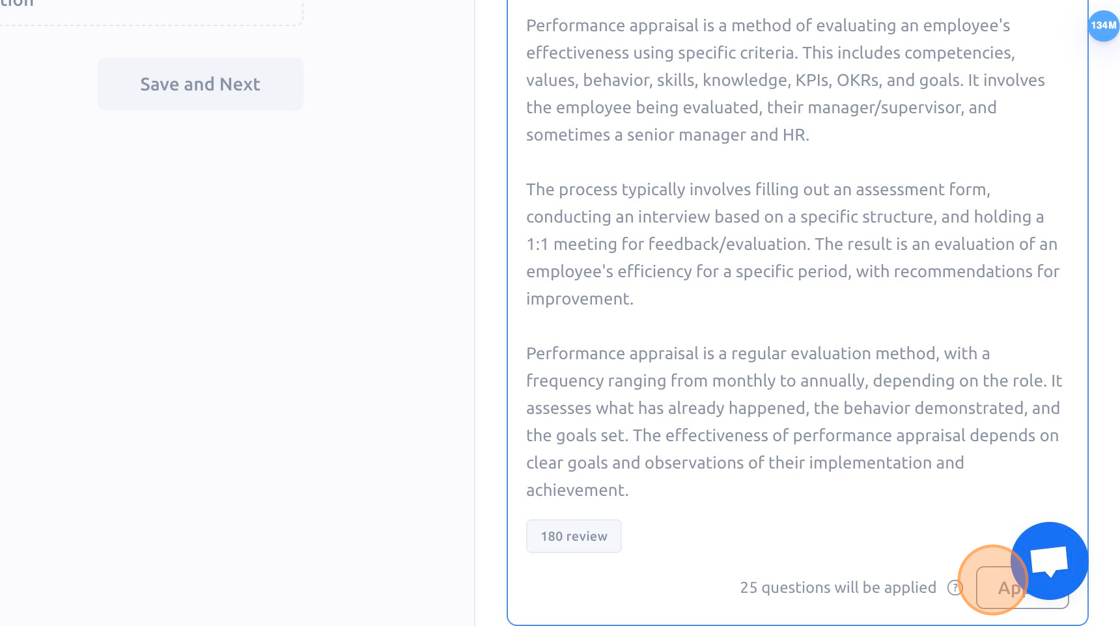
Click "Templates" to apply predesignated questions, or choose questions from the context panel. Click "Apply" one you've selected your template.
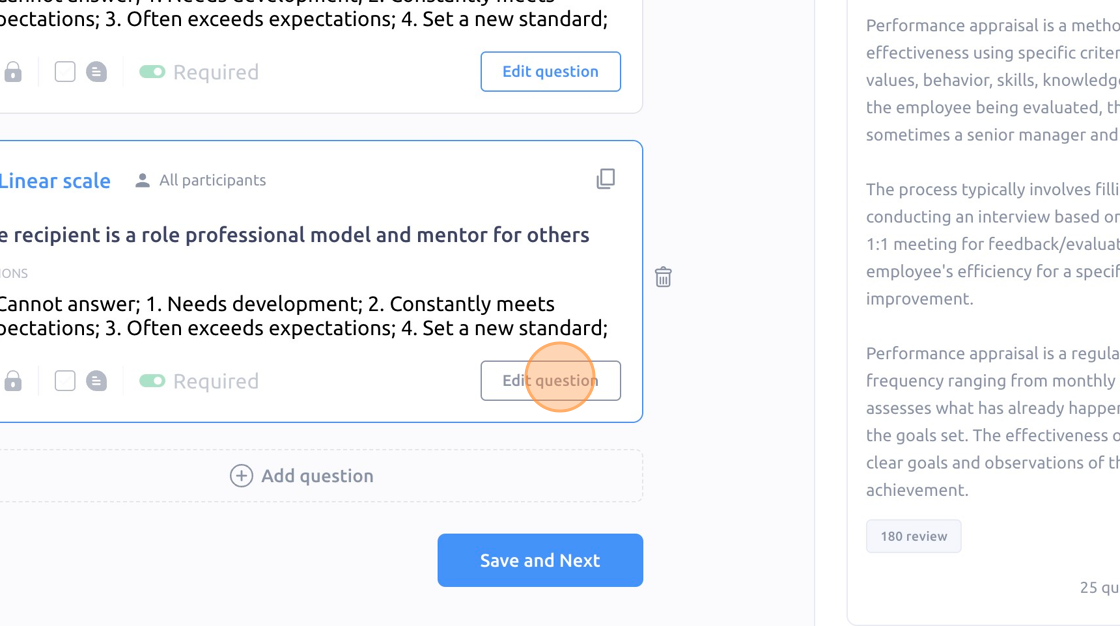
You can customize any questions added from the template by clicking "Edit question".
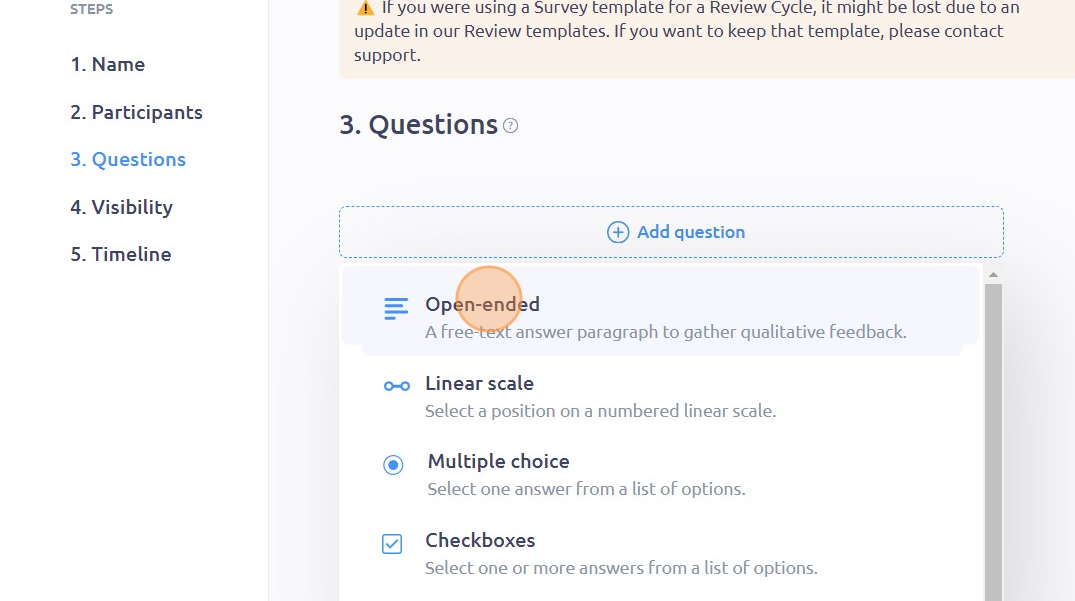
To add your own questions, click "Add question".
You can choose from the four types of questions available: Open-ended, Linear scale, Multiple choice and Checkboxes. Simply click on the type of question that you want to add.
Type in your question in the "Question Title" field.
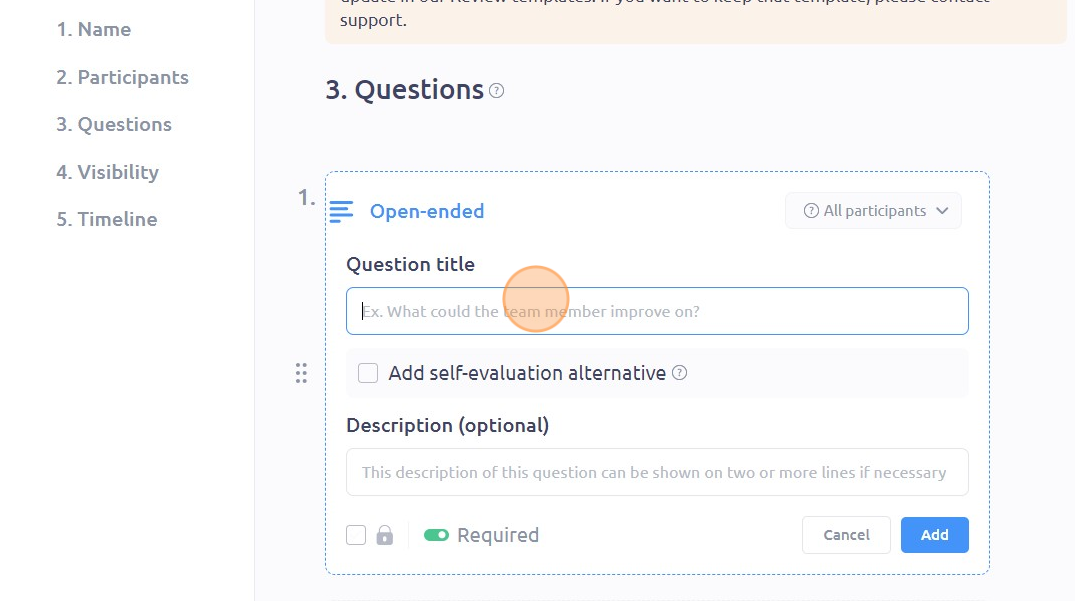
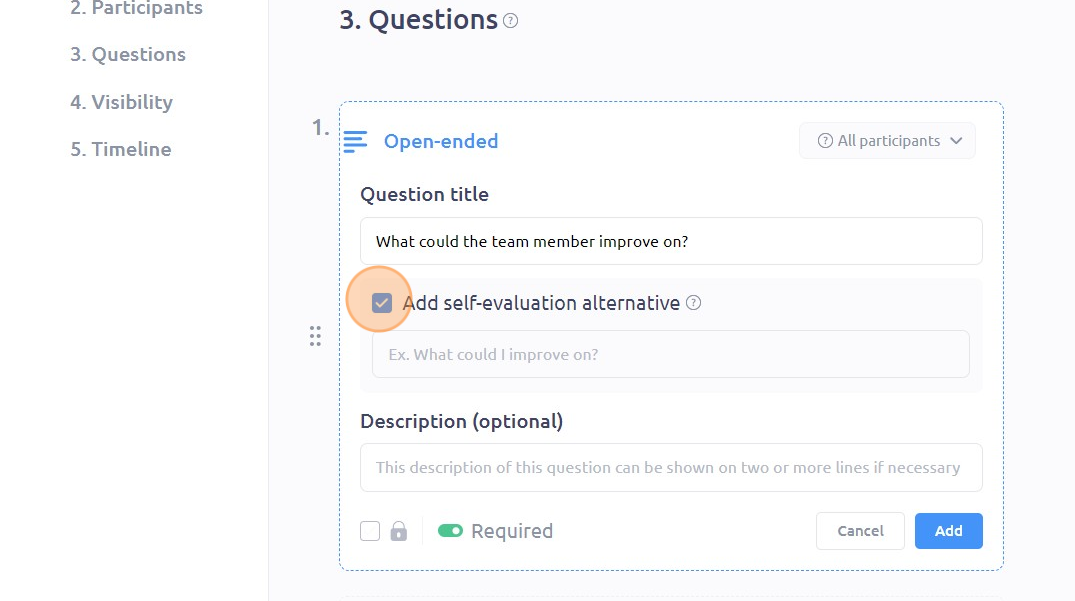
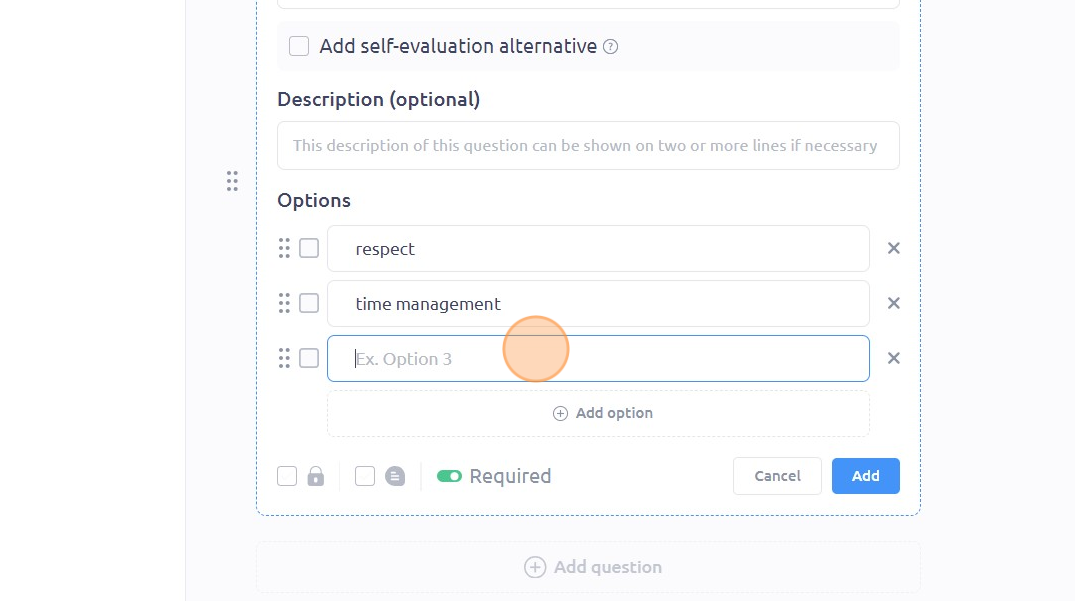
By checking the "Add self-evaluation alternative" box, reviewers will see the original question while the recipient will be seeing the alternative question below during self-evaluation.
You can then chose your respondent - who will view and answer each question. Select among:
All participants
All except self-evaluation
Self-evaluation only
Direct manager only
Direct reports only
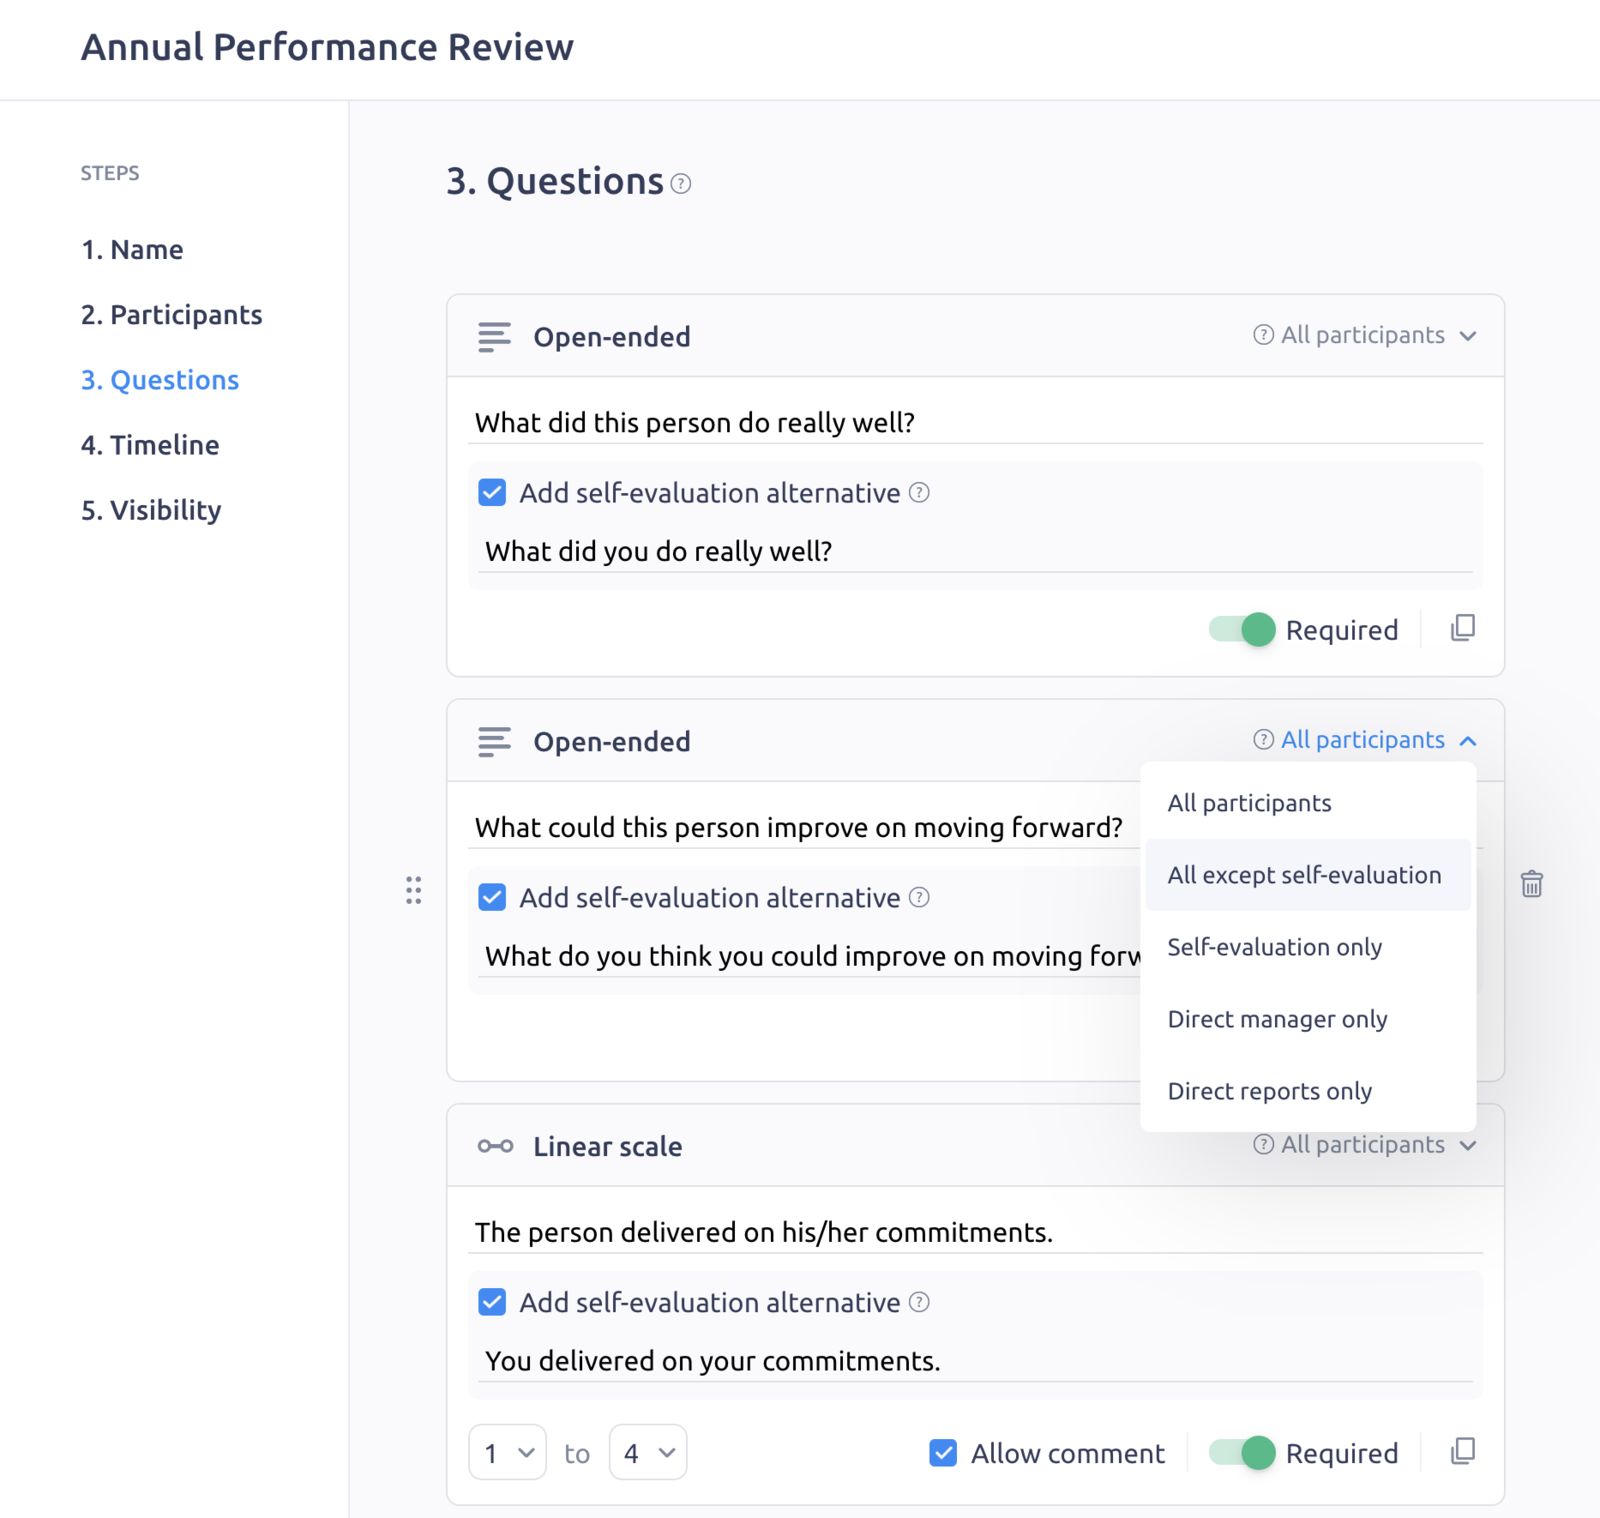
You can also choose if you want to require an answer to the question or not by simply toggling the button beside "Required".
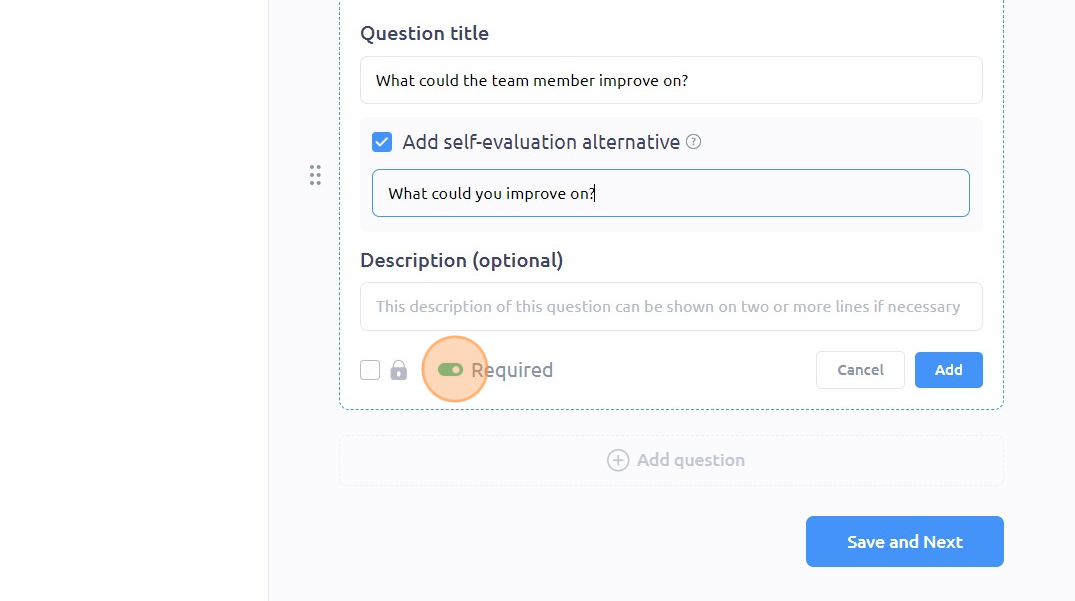
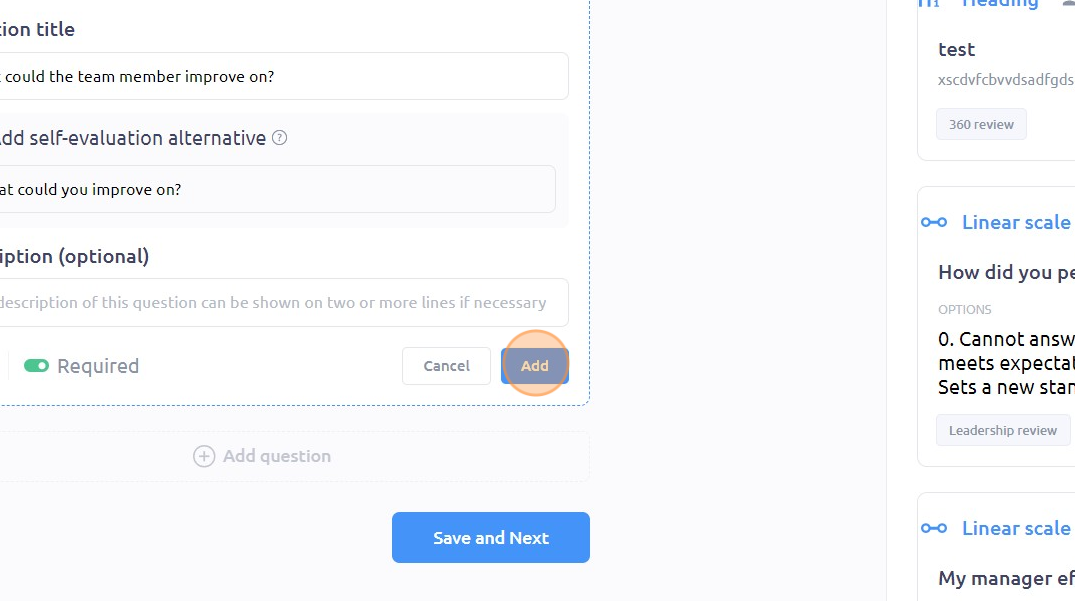
When you're ready, click the "add" button on the bottom right to add the question the review.
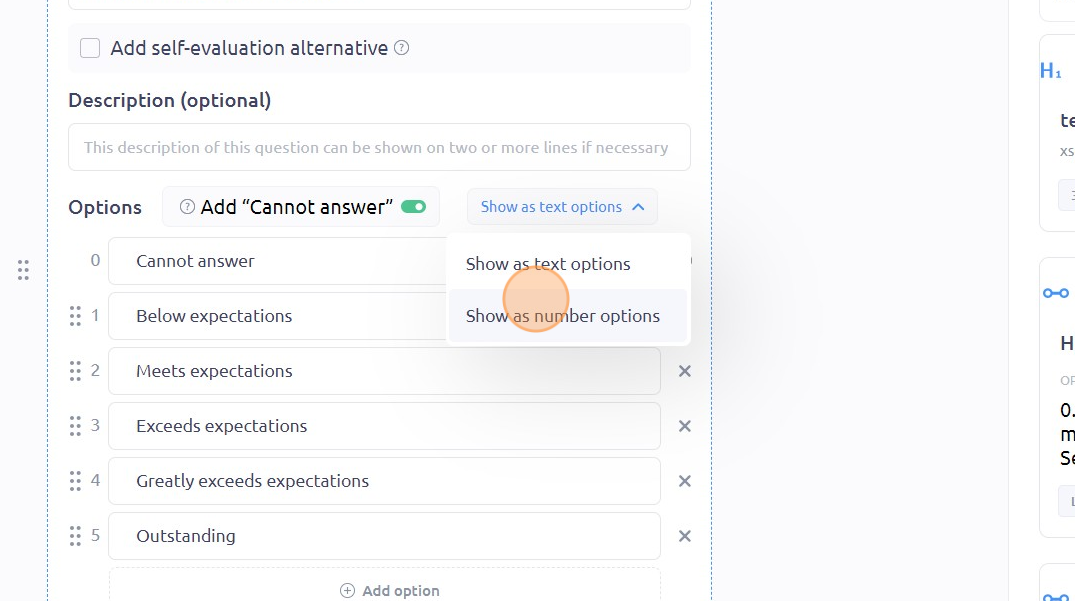
For the linear scale questions:
You can enable a "Cannot Answer" option by toggling the button next to it. Responses selecting "Cannot Answer" will be excluded from the average score calculation, keeping the results focused on meaningful input.

You can also modify the options to show as text or numbers by selecting your choice from the drop-down menu.
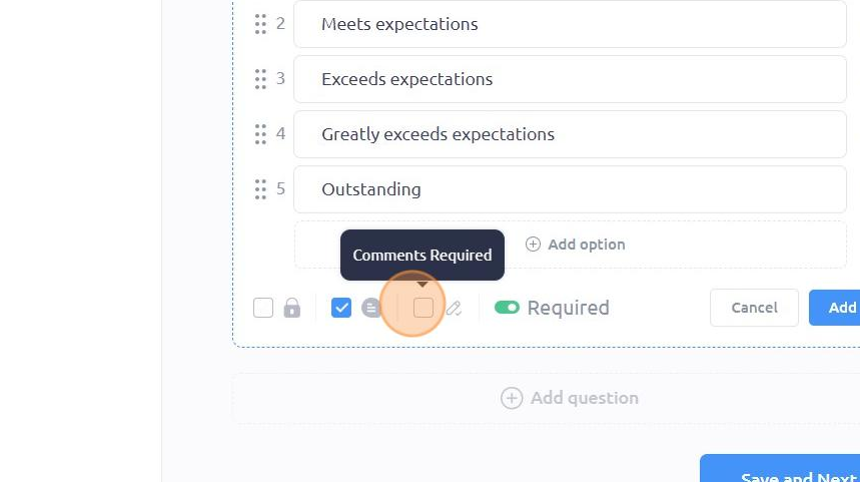
Click the checkbox highlighted below (to the left of the required question button) to allow comments.
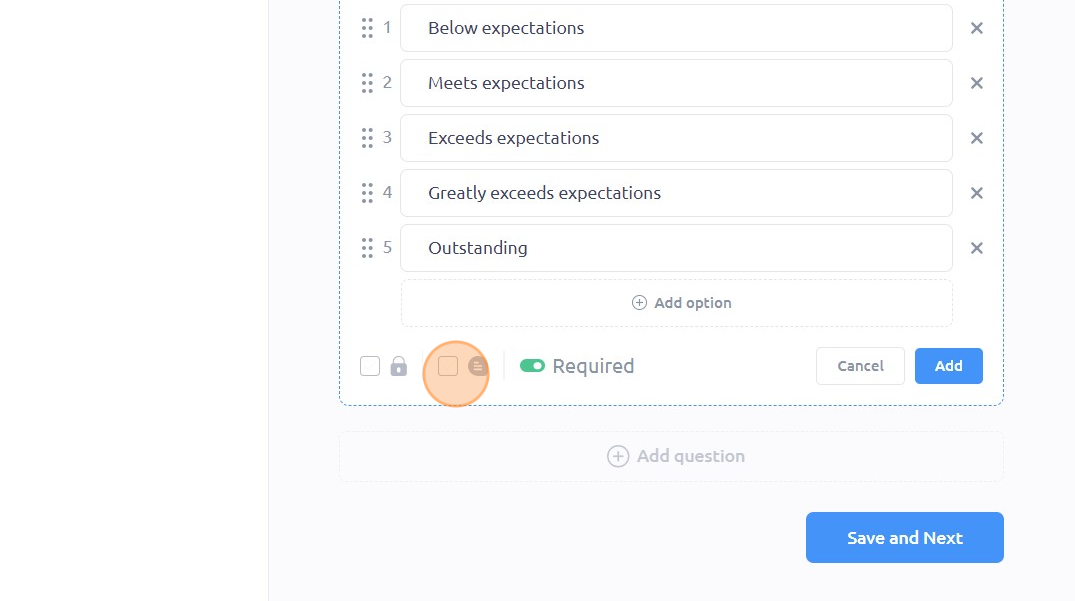
Click the box next to the ✏ logo to require comments.
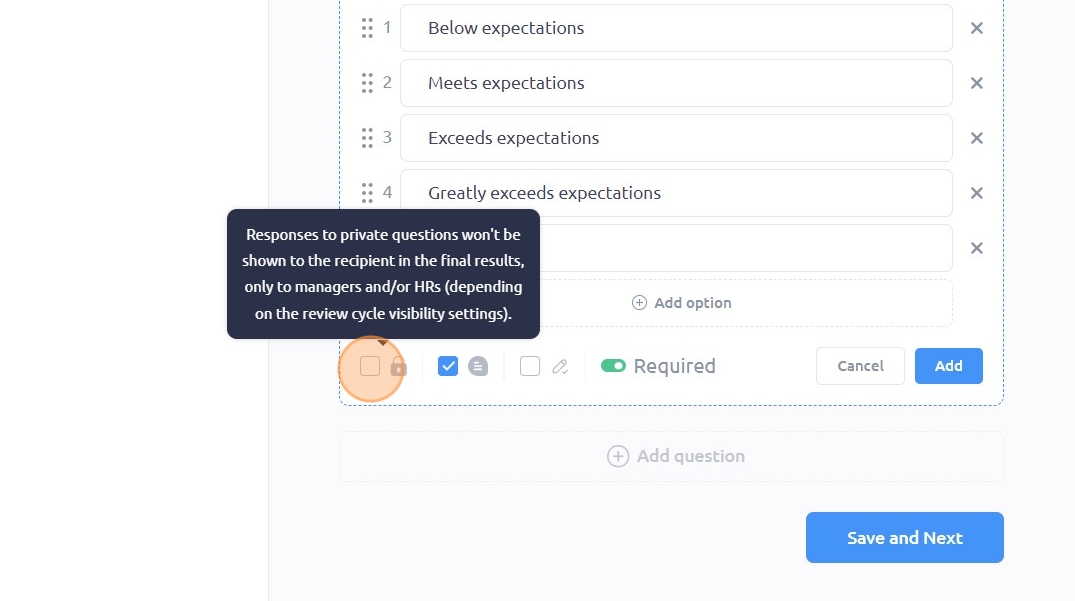
Click the furthest checkbox to the left (next to the 🔒 icon) to make the question private.
When adding options for checkbox or multiple choice questions, simply click on "Add option" and type the option you want in the option field.
Using Scored Attributes
Make your reviews even more powerful and get insightful analytics using Scored Attributes. 🚀 You can now add the Scored attributes to your Linear Scale questions, assign the weights, and build Radar Chart to compare the scores from peers, managers, and self-evaluation.
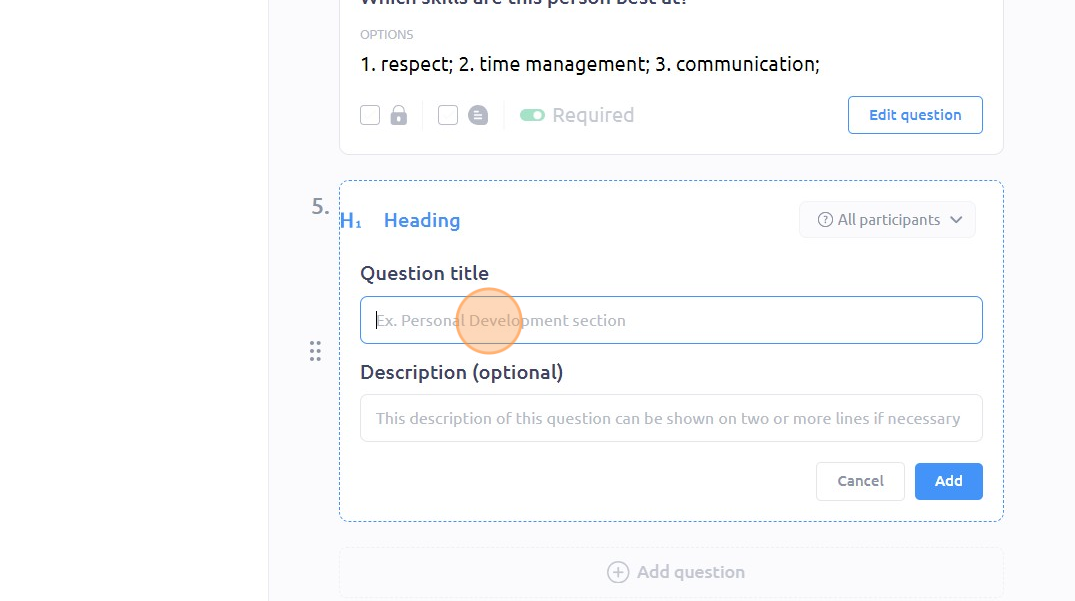
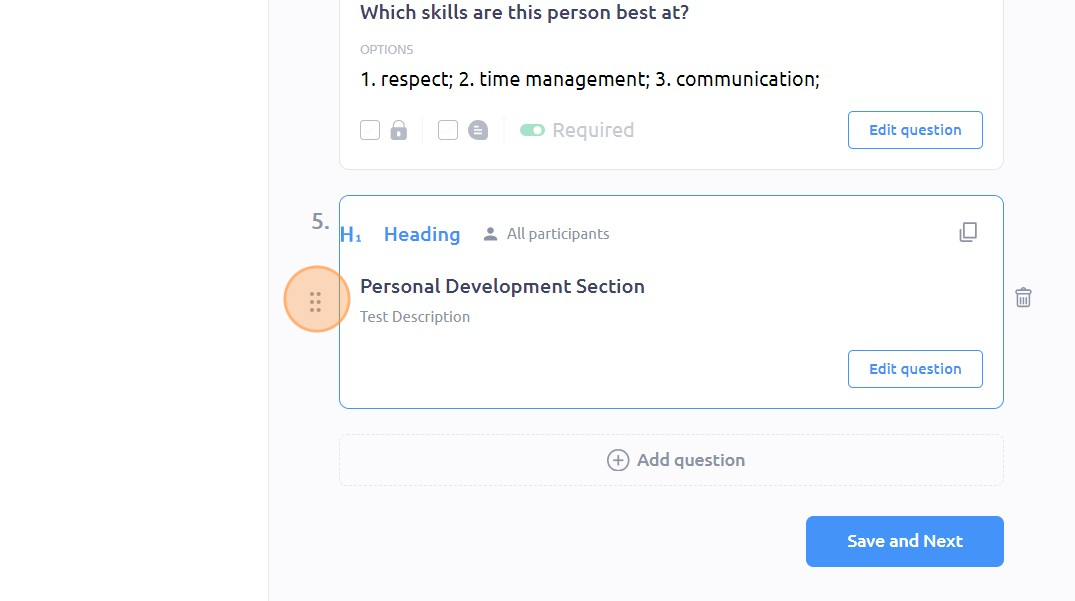
Adding Section Headings
You can use this to create different sections to your review. Type the heading in the "Question title field and click "Add".
You can rearrange the order of your questions by clicking on dragging the six dots at the side of each question box.
Setting the Review Visibility
Select who would be able to view the review results.
The review recipient.
The review recipient's manager(s). All managers up the hierarchy will see the review results of their Reports in the tab "Reviews → Direct reports" or on the profile of the user.
HR admins + specific HR managers (view and calibrate). If selected, HR admins and selected HR managers will be able to view the responses and calibrate them.
View modes "_Anonymous_" and "_Non-anonymous_" available for all options.
When you've selected the desired visibility settings and you're ready to set the review timeline, click "Save and Next"

Setting the Review Timeline
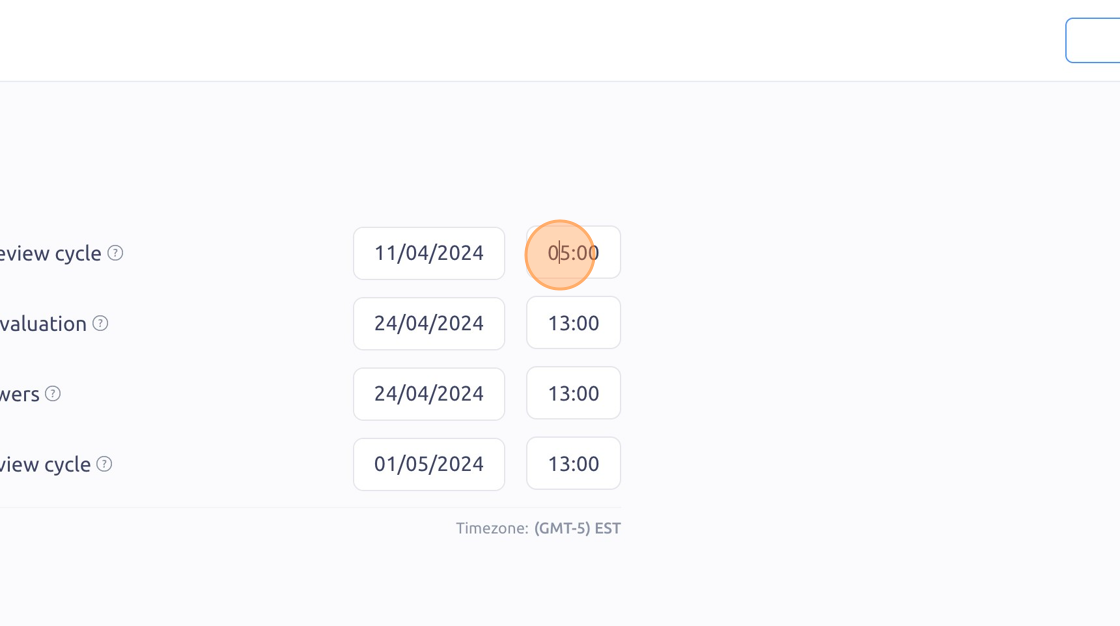
Start date. When the review will start and all reviewers will be notified to write the reviews.
Deadline for self-evaluation: Those who need to fill out self-evals will receive reminders before this date. It should be later than the start date but before the deadline for reviewers.
Deadline for reviewers. The reviewers will receive automatic reminders 2 days, 1 day, and 4 hours before this deadline. But they will be able to submit the review even after the deadline (until the HR "Shares" the results for all).
End date. When the review will move to "Finished". It affects only the status of the review.

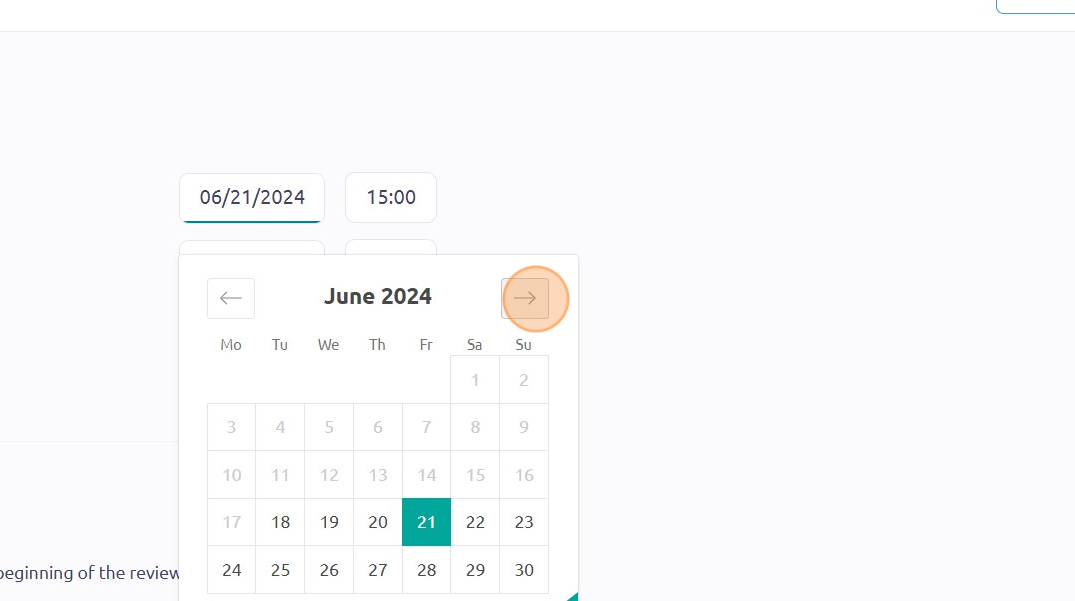
Click the "Date" field to set the review timeline. Navigate the calendar and choose the desired date and time.
Click the text field to change the time of day you want the review to start.
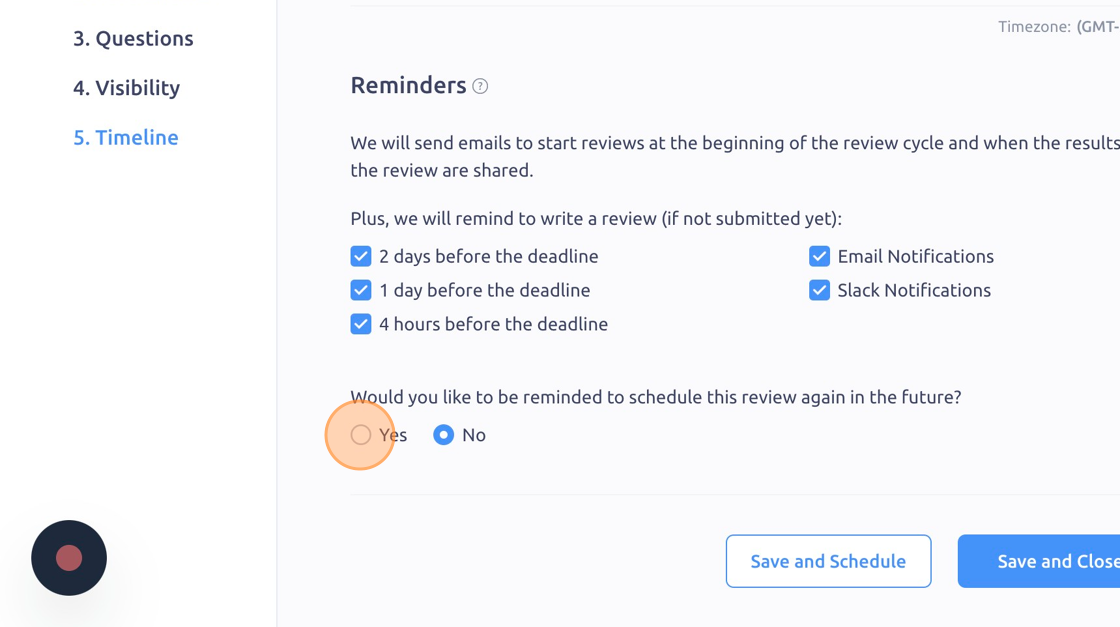
Select the type and frequency of review reminders (which are sent via email and Slack).
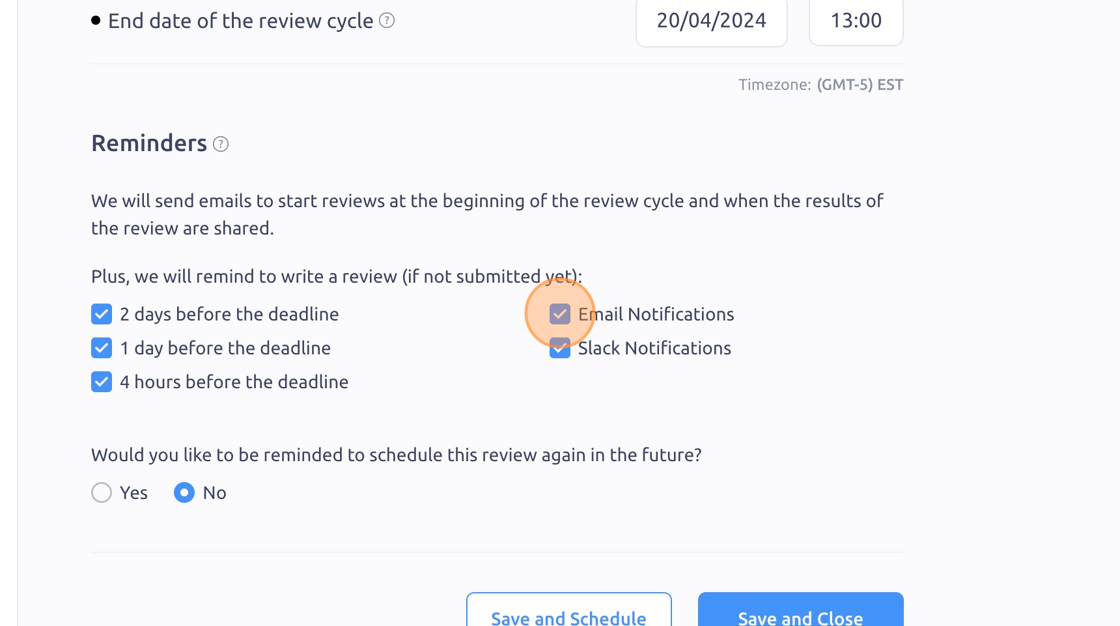
You can also modify if, how often, and where you want to receive reminders by checking the appropriate checkboxes.
Click "Save and Close" (or "Save and Schedule" if you're ready to begin the review cycle).

Scheduling or Starting a Review Draft
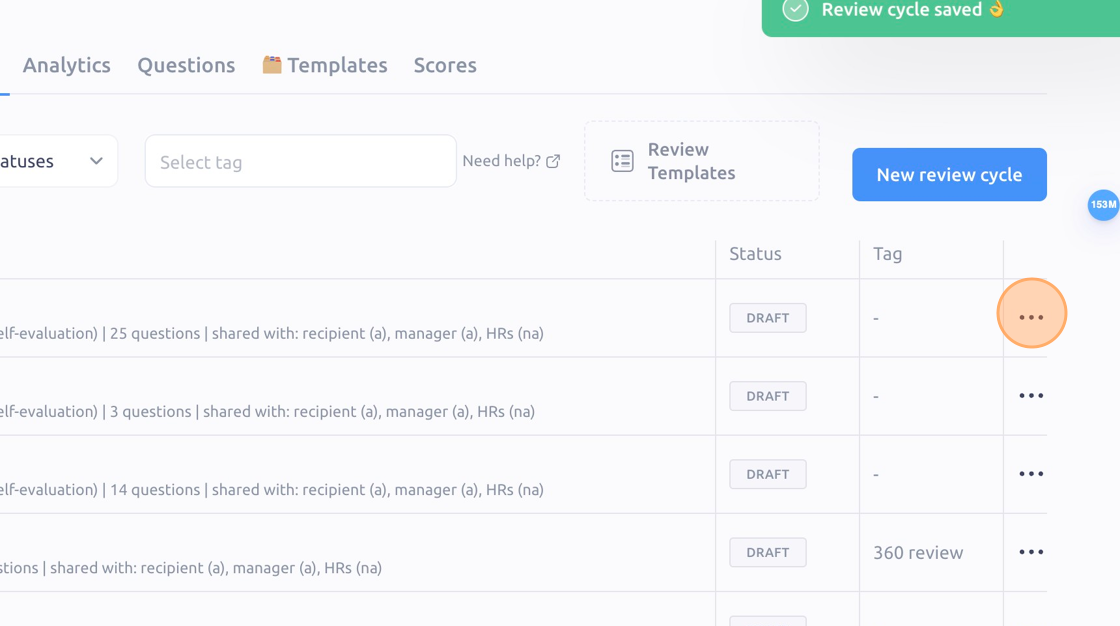
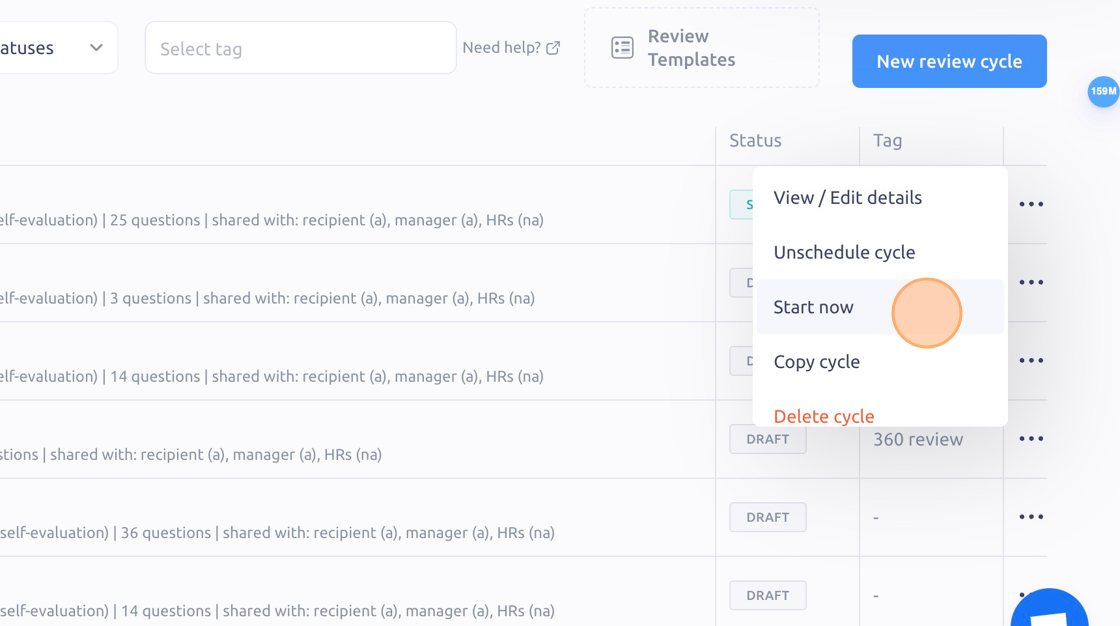
Click the "3 dots" icon.
Click "Schedule cycle" to schedule it based on the dates you selected in the Timeline section of the Review setup.

Or you can click "Start now".
This window will pop up to make sure you want it to start immediately, if so click "Start".

To see it in action, please visit Peoplelogic Learn.